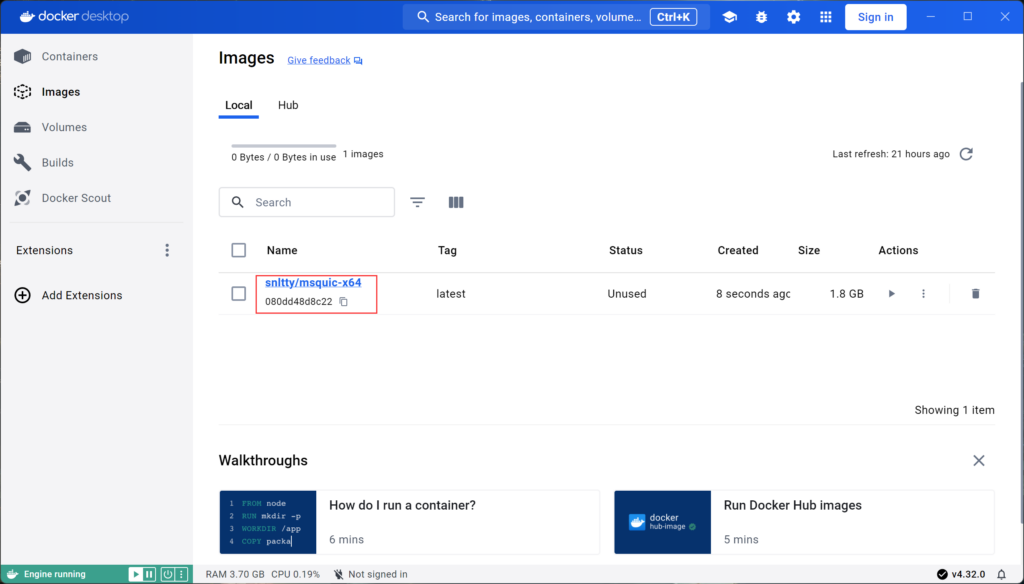
你要安装一个 docker desktop,在windows上
1、写一个编译msquic的dockerfile
文件名 和 位置,你随意,我这里叫 Dockerfile-msquic,放在了C:\Users\snltty\Desktop
C#
FROM alpine:latest

ENV TZ=Asia/Shanghai DOTNET_SYSTEM_GLOBALIZATION_INVARIANT=1
RUN echo "https://mirrors.ustc.edu.cn/alpine/latest-stable/main/" > /etc/apk/repositories \
    && ln -snf /usr/share/zoneinfo/$clTZ /etc/localtime \
    && echo $TZ > /etc/timezone

RUN apk add --upgrade --no-cache \
        cmake \
        g++ \
        gcc \
        git \
        numactl-dev \
        linux-headers \
        lttng-ust-dev \
        make \
        musl-dev \
        openssl-dev \
        perl

RUN git clone --depth 1 --single-branch --branch v2.3.6 --recursive https://github.com/microsoft/msquic /tmp/msquic

WORKDIR /tmp/msquic

RUN cmake -B build/linux/openssl3 \
       -DQUIC_OUTPUT_DIR=/tmp/msquic/artifacts/bin/linux/openssl3 \
       -DCMAKE_BUILD_TYPE=Release \
       -DQUIC_TLS=openssl3 \
       -DQUIC_ENABLE_LOGGING=true \
       -DQUIC_USE_SYSTEM_LIBCRYPTO=true \
       -DQUIC_BUILD_TOOLS=off \
       -DQUIC_BUILD_TEST=off \
       -DQUIC_BUILD_PERF=off && \
    cmake --build build/linux/openssl3  --config Release && \
    cmake --install build/linux/openssl3 --prefix /msquic


ENTRYPOINT ["top"]
2、使用buildx 编译
x64
C#
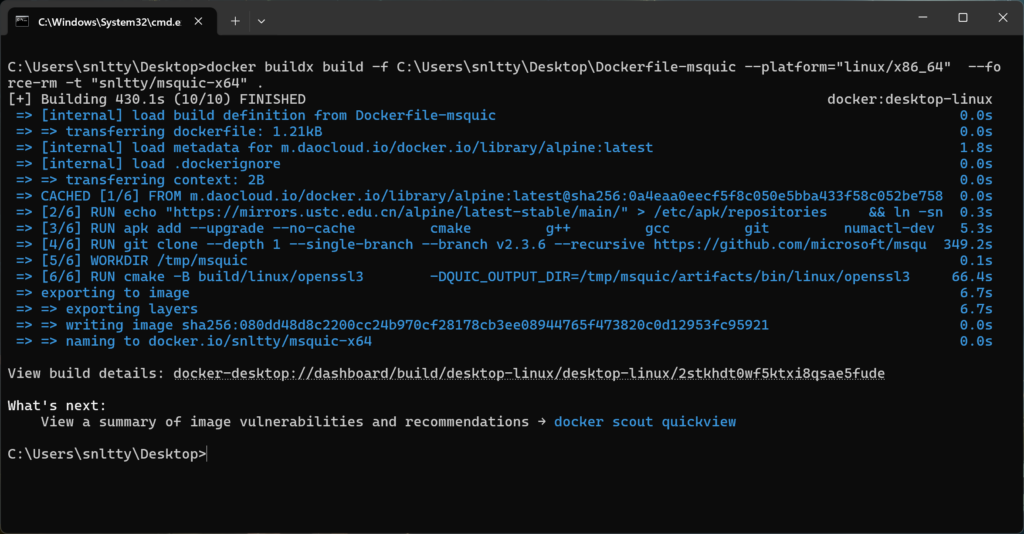
docker buildx build -f C:\Users\snltty\Desktop\Dockerfile-msquic --platform="linux/x86_64" --force-rm -t "snltty/msquic-x64" .arm64
C#
docker buildx build -f C:\Users\snltty\Desktop\Dockerfile-msquic --platform="linux/arm64" --force-rm -t "snltty/msquic-arm64" .编译过程时间不短,但也不会很久,耐心等待,编译成功的话,差不多就下面这个样子
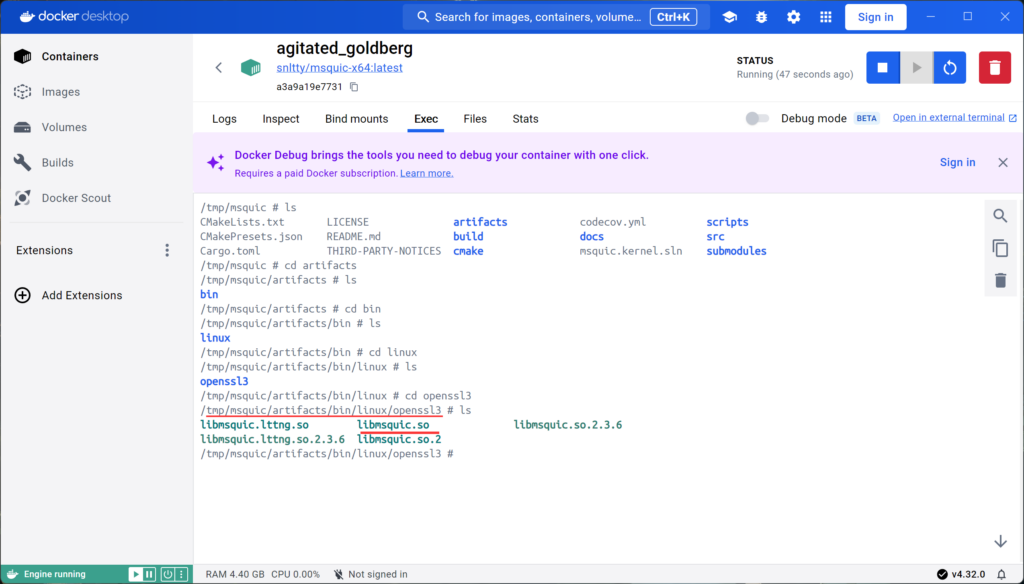
3、运行容器,把编译好的msquic弄出来
把 /tmp/msquic/artifacts/bin/linux/openssl3 下的 libmsquic.so 弄出来,你的项目可以拿去使用了
4、在Alpine中使用编译的msquic
需要注意的是,需要安装 numactl-dev 库,才能正确使用这个libmsquic.so,可以按照下面的方式安装
C#
ENV TZ=Asia/Shanghai DOTNET_SYSTEM_GLOBALIZATION_INVARIANT=1
RUN echo "https://mirrors.ustc.edu.cn/alpine/latest-stable/main/" > /etc/apk/repositories \
    && apk add --no-cache libstdc++ libintl tzdata zeromq bash net-tools iproute2 numactl-dev \
    && ln -snf /usr/share/zoneinfo/$clTZ /etc/localtime \
    && echo $TZ > /etc/timezone